

Changing panoramic roof drain pipes on VW Tiguan, AUDI Q5…
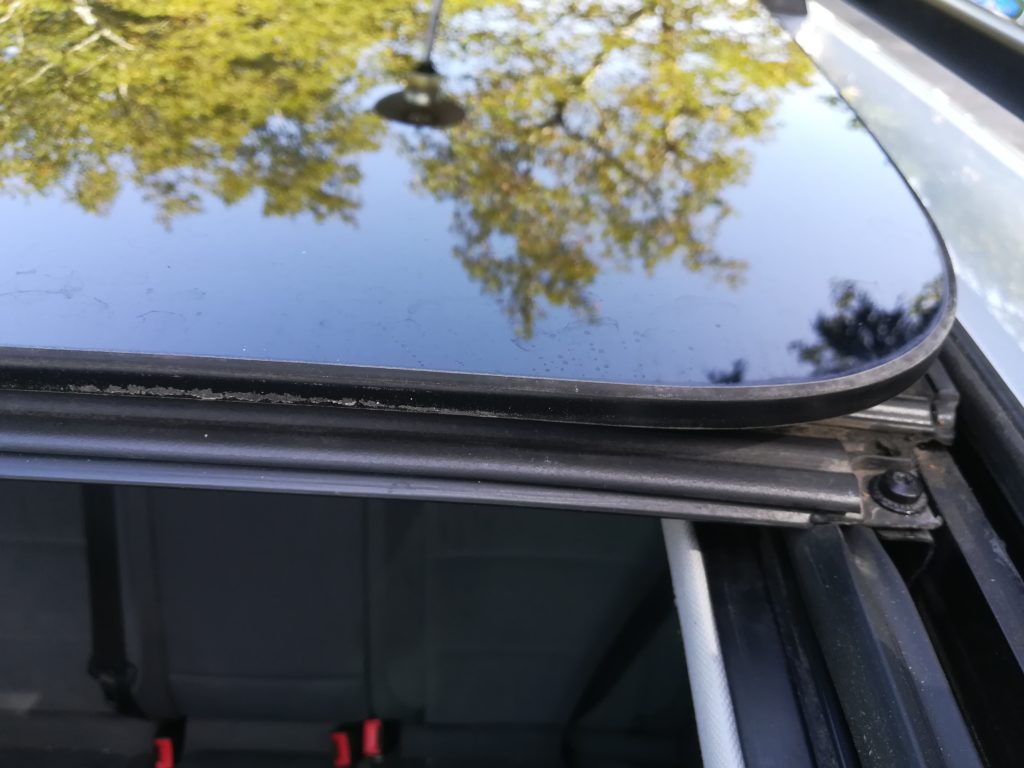
One of the most common problems I’ve had to deal with is leaks due to wear and tear in the drainage pipes on the panoramic sunroof.
They’re made up of a pipe section and a sleeve, and both tend to come apart with wear and tear.
Let’s take a look at how to change the drain pipes.
PRECAUTION – SAFETY
I accept no responsibility for personal injury or damage to your vehicle, so please take the necessary precautions and check that nothing has been broken or damaged. If this is the case, please change what has been damaged before reassembling.
Check the electrical cables, some of which are used to power the airbags, so don’t mess around with the safety devices.
TOOLS
- Wrench/screwdriver or Torx bit T15 T20 T25
- 10″ wrench or bit (depending on model)
- Large flathead screwdriver
- Plastic disassembly tools to prevent scratches on your car’s interior. Failing that, an old loyalty card, a guitar metronome etc…
- Set of hexagonal wrenches or bits
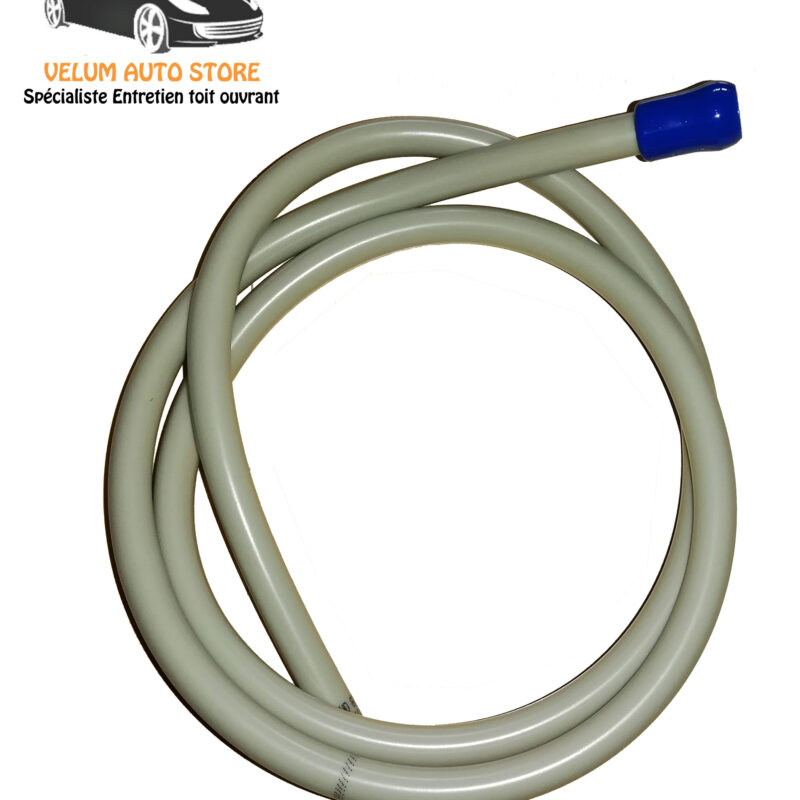
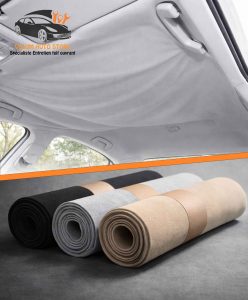
- Pipes ( example for Tiguan ref: 5N0 877 231 and 5N0 877 233 )

TIME TO CHANGE DRAIN PIPES
APPROXIMATELY 3H
Please note: there may be some differences, for example in the way the uprights are removed, depending on the model and vehicle below:
VW SHARAN, TOURAN, JETTA, GOLF VARIANT, TIGUAN, AUDI Q5, SKODA YETI
1 – Open sunroof in “maintenance” position
Open the TOP to maximum and turn the knob further beyond this maximum. <<<click here for handling>>>
The aim is to gain access to the screws seen in the maintenance position.
2 – Open the blinds to the maximum
Open the blind to maximum by pressing the “open” button on the rotary knob.
4 – Disconnect the battery
safety
5 – Remove ceiling light and plastic covers

Remove the cover and unscrew the screws.
6 – Remove front left / right side upright
Remove the AIRBAG symbol using the thinnest possible plastic tools. Lever it by applying pressure to the shapes (see arrows).
Do the same for the right.
7 – Remove left/right center upright
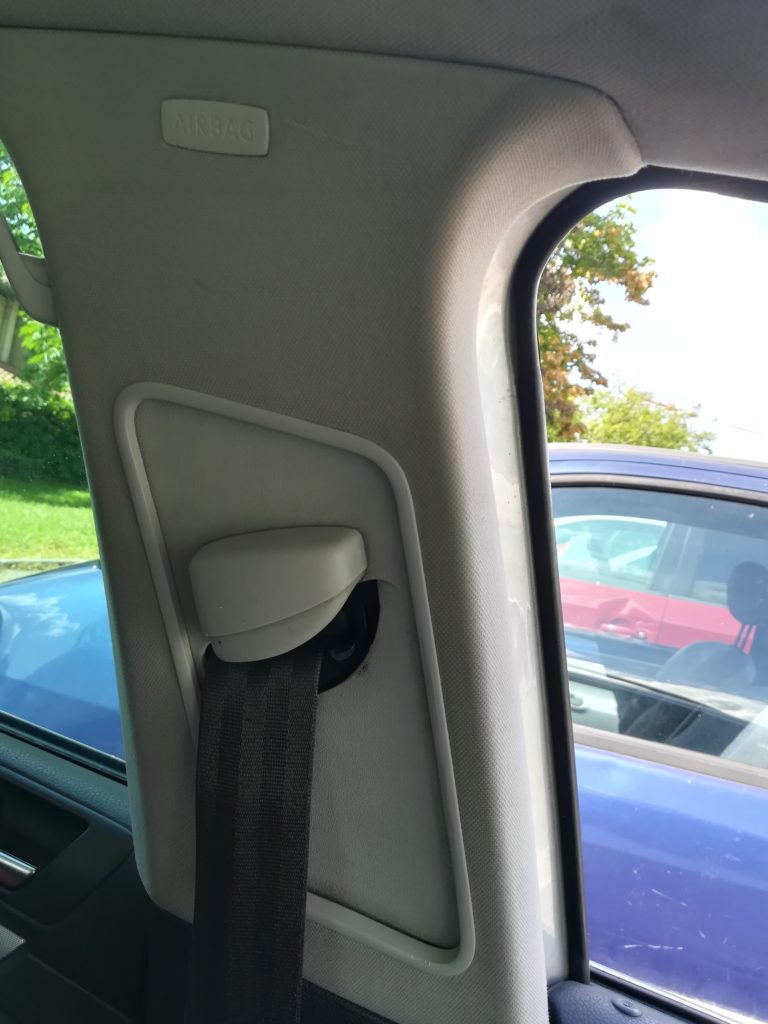
Start by removing the AIRBAG symbol in the same way as you removed the fixing screw (set the belt adjuster high enough, but not too high, to allow access with the torx screwdriver).
The upright must be disengaged from the housings at the bottom so that it can be moved downwards (try not to pull out the plastic part that adjusts the height of the belt).
Do the same for law.
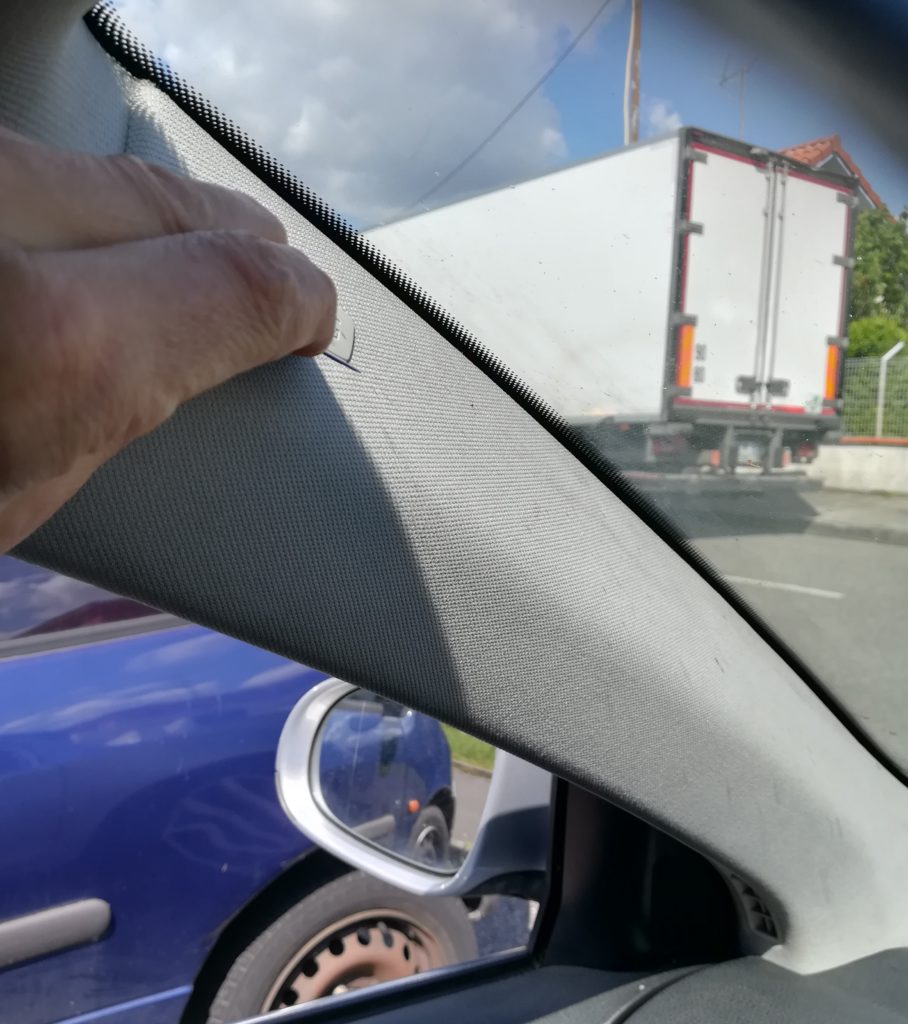
8 – Removing the profile around the canopy
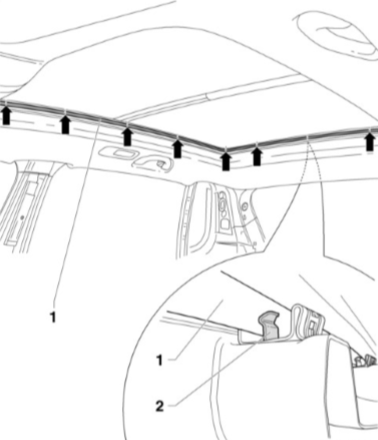
There are about twenty staples to unclip by levering with a plastic disassembly tool (or you can use a credit card or a metronome).
9 – Remove sunshade
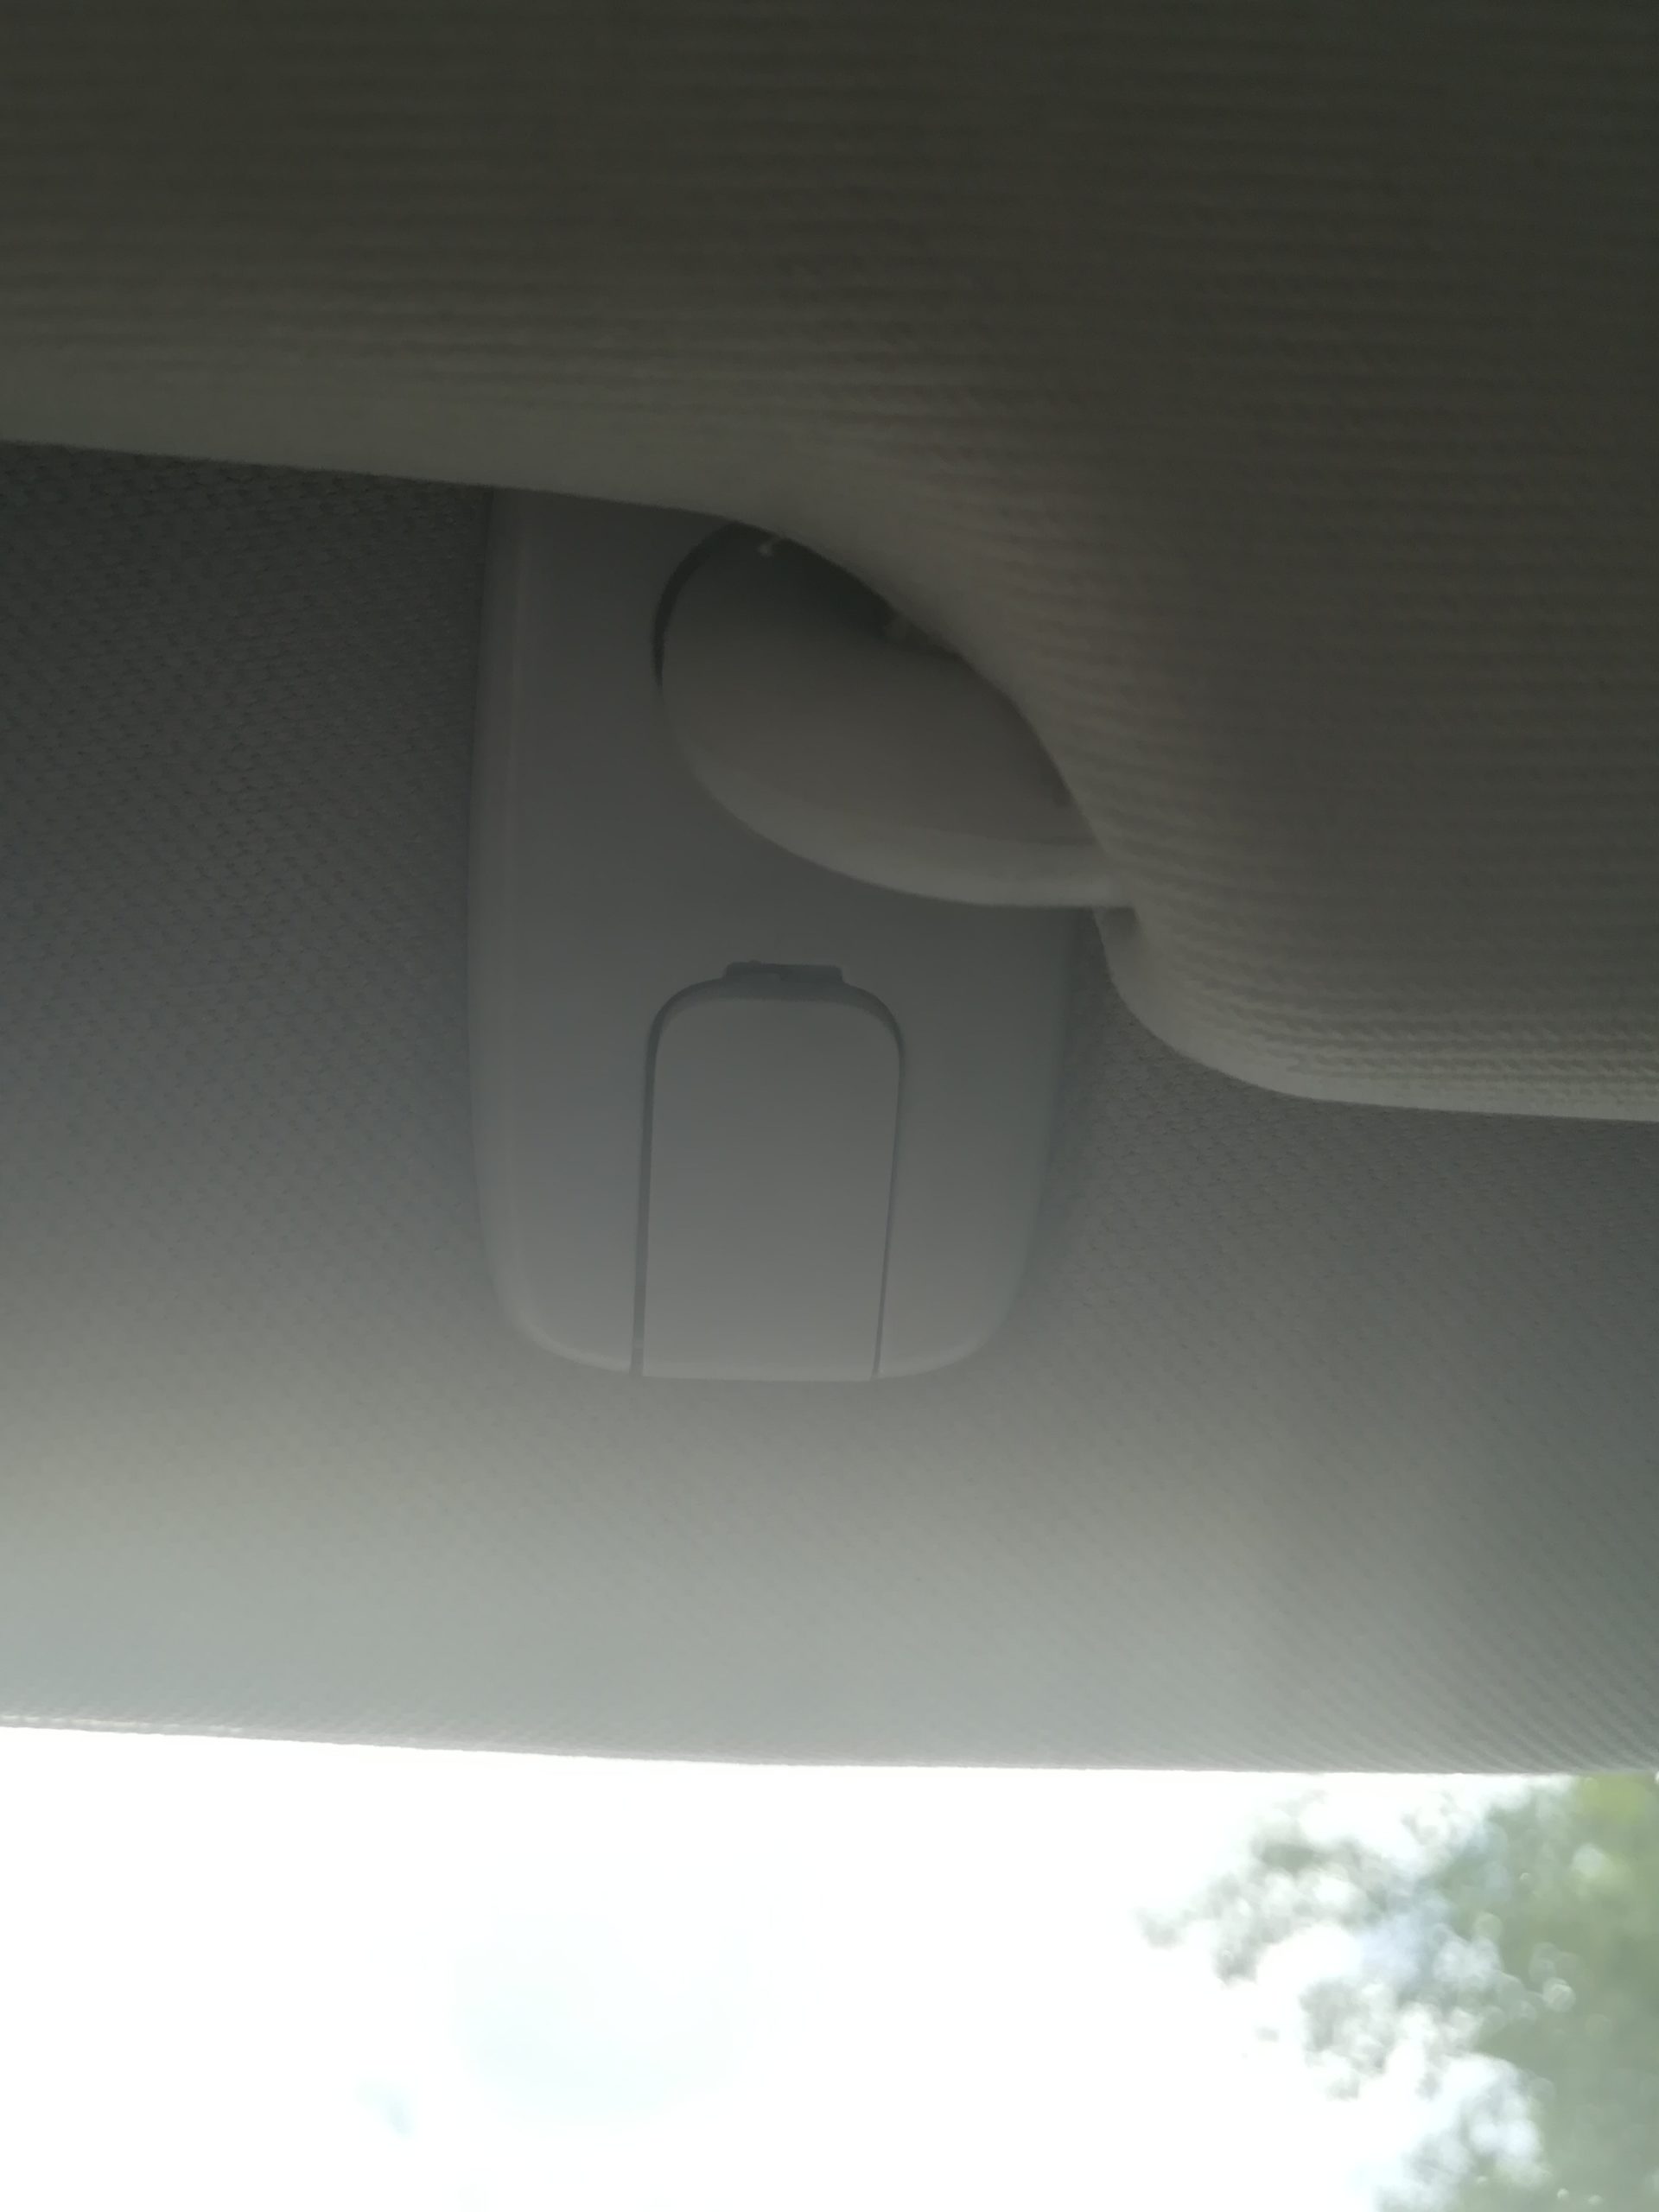
Open the small covers with an extra-thin plastic tool or a precision screwdriver, but with care, and an extra-thin guitar metronome can do the trick.
Be careful with the sunshield, as it is still held by its cables, and the plug must be removed so that it is finally free.
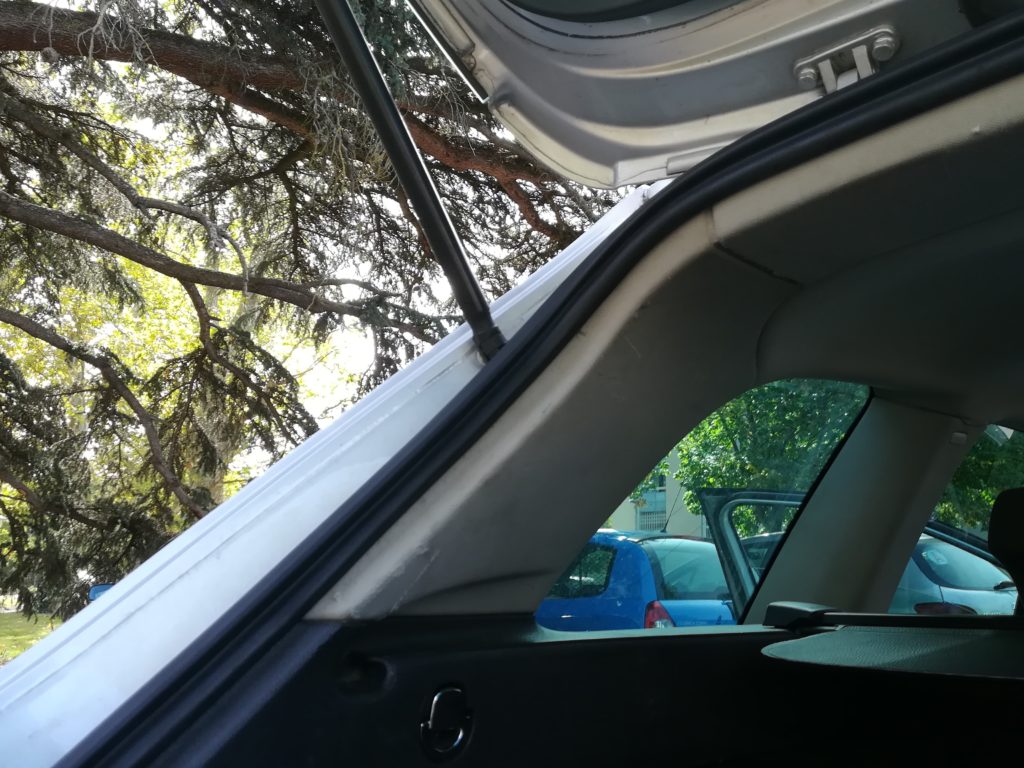
10 – Remove rear hatch cover (trunk)
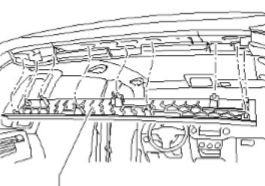
Open the tailgate and pull down the rear cover with a sharp tug.
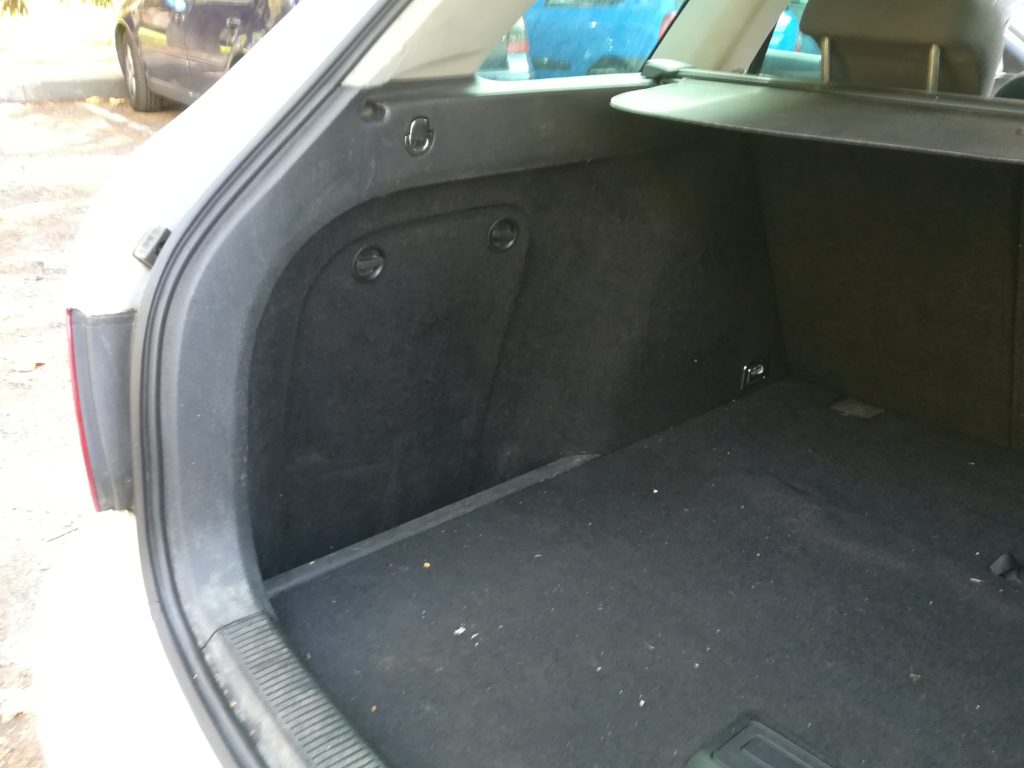
11 – Remove rear cover (trunk)
Remove the plastic plungers using a special tool such as T10236 or pliers on either side of the plastic part.
Then release the plastic part from the metal hoops and pull it upwards.
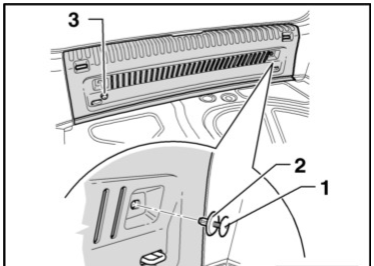
12 – Remove side covers (trunk)
Plan the fixing screws on the side of the trunk
13 – Remove upper side cover (trunk)
Remove the trim piece by pulling downwards, then pulling along arrows A and B.
14 – Fold down the rear bench seat, move the seats to the maximum forward position and lower the seats.
13 – Disconnect sunroof control plugs
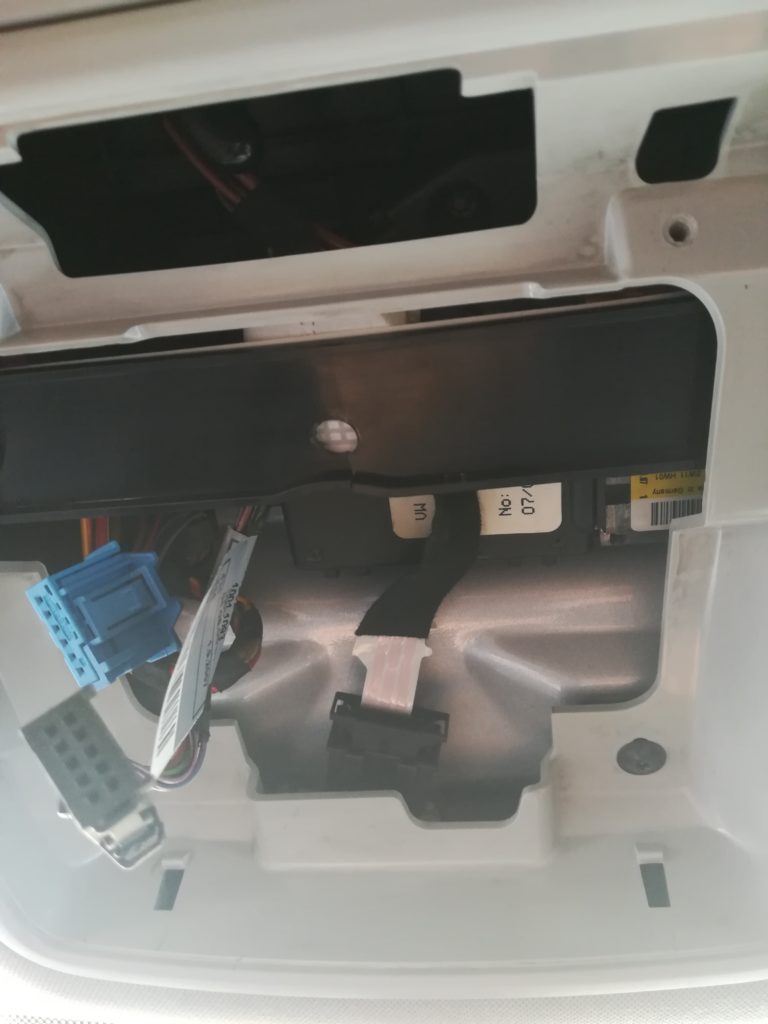
14 – Remove plastic headliner retainers

Remove the screws holding the plastic part in place.
15 – Remove handles
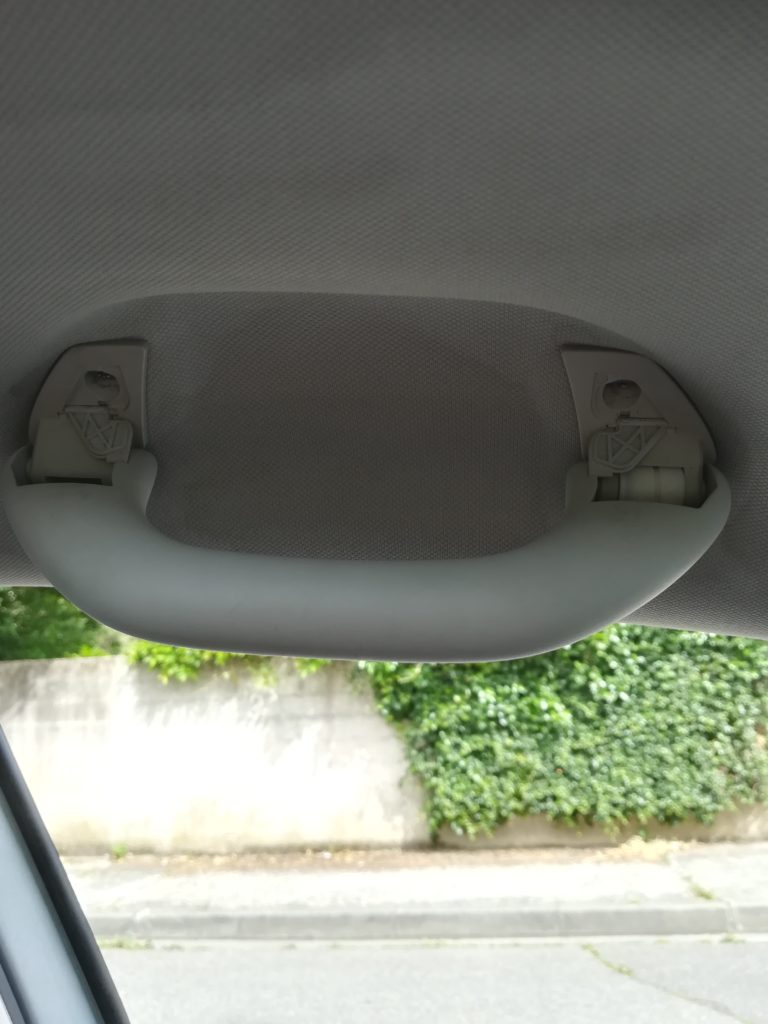
take the handle as if you wanted to grab it remove the 2 torx screws Note: on Q5, these are plastic parts to be removed.
16 – Check that nothing is holding back the canopy
Light, dome light, then remove the molded headliner by moving it forward to disengage it from the rear pillars, then remove the molded headliner from the rear.
You don’t have to take it out, but it’s more practical for maximum space.
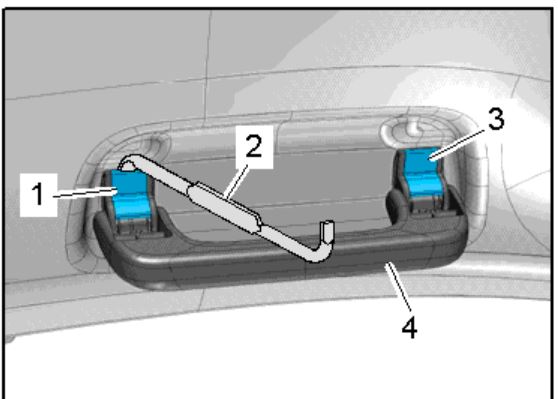
17 – Remove used drainpipes
Just shoot it.
18 – Changing used drainpipes
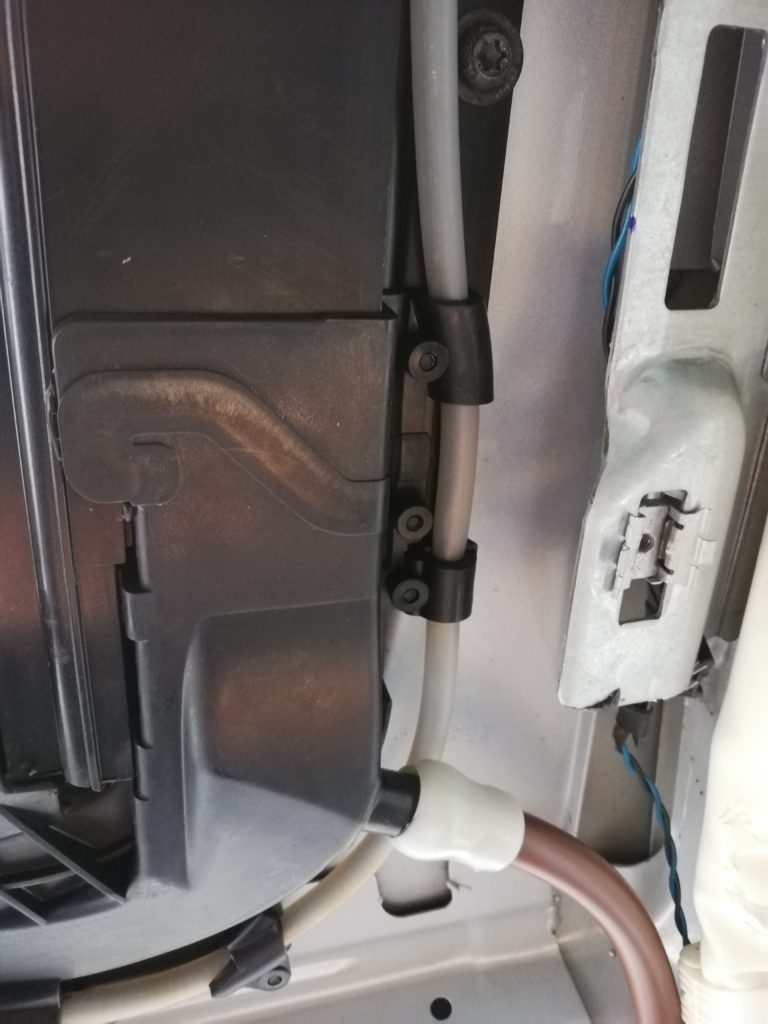
Take care to fit the sleeves securely into the wheel arches, dismantling the wheel arches if necessary.
Use the metal bases to route the drainpipe to prevent the pipe from kinking and the water from running off (or less).
19 – Test by pouring water down the drainpipes
20 – Reassemble parts in reverse order
21 You can download the PDF “Changing panoramic sunroof drain pipes” below, free of charge.


Add comment