


Replacement panoramic sunroof blind VW Audi Skoda Seat – Ref 1K9877307
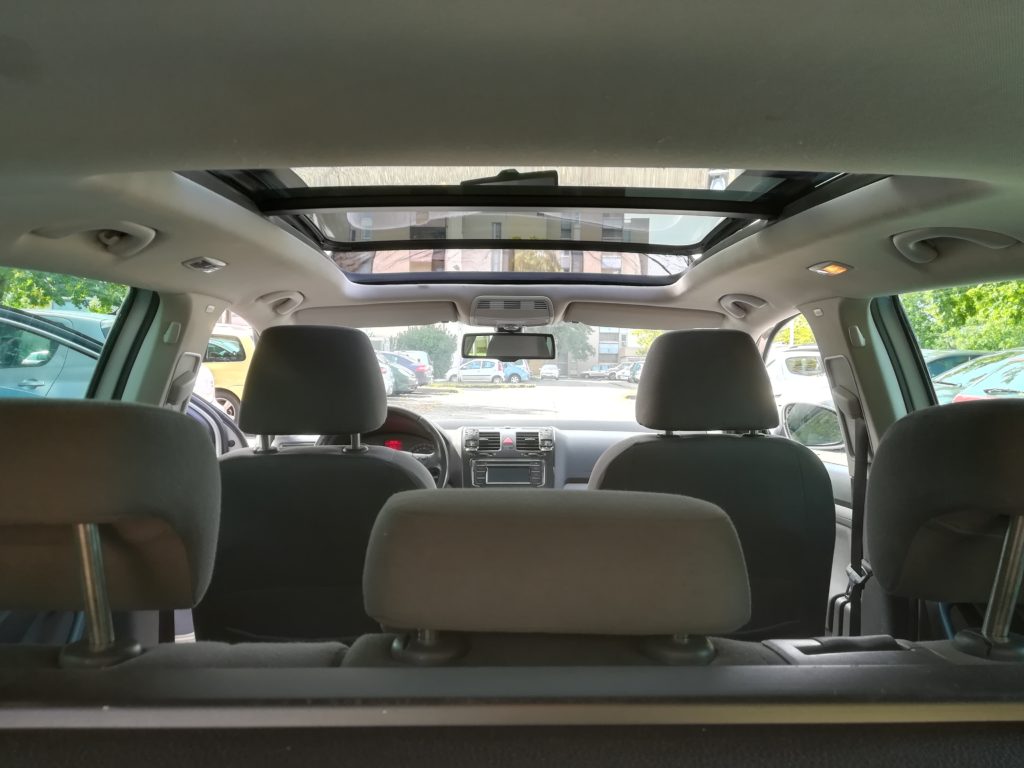
The panoramic sunroof blind is one of the fastest-aging parts on Volkswagen vehicles: torn, mildewed, discolored or out of track, the problem affects most owners after 8 to 12 years of use. Replacement at a VW, Audi or Skoda dealership costs between €800 and €1,400 – a sum that is largely avoidable.
The good news: all the vehicles listed in the compatibility table below share the same roller blind part number: 1K9 877 307. Just one part, available from VelumAutoStore for as little as €149, and a replacement procedure you can carry out yourself in around 45 minutes using standard tools.
This comprehensive guide covers every step from removing the headliner to resetting the motor, with demonstration video and downloadable PDF to have on hand in the workshop.
Repairing the sunroof velum is therefore a delicate operation, but one that can be done by yourself by following the steps in this tutorial.
Compatibility table for part number 1K9877307 and equivalent
| Brand | Model | Chassis code | Compatible years |
|---|---|---|---|
| VW | Tiguan I | 5N | 2007 – 2016 |
| VW | Touran | 1T1 / 1T2 / 1T3 | 2003 – 2015 |
| VW | Golf V Estate (Variant) | 1K | 2007 – 2009 |
| VW | Golf VI Estate (Variant) | AJ5 | 2009 – 2013 |
| VW | Passat Estate (Variant) | B7 | 2011 – 2014 |
| VW | Sharan II | 7N | 2010 – 2017 |
| Audi | Q5 / SQ5 | 8RB | 2008 – 2017 |
| Skoda | Yeti | 5L | 2009 – 2017 |
| Skoda | Superb Break | 3T | 2008 – 2015 |
| Seat | Leon ST (Estate) | 5F | 2013 – 2017 |
| Seat | Alhambra II | 2010 – 2020 |
⚠️ If you have any doubts about compatibility, please contact us with your VIN number: contact@velumautostore.com
SAFETY – PRECAUTION
I accept no responsibility for personal injury or damage to your vehicle, so please take the necessary precautions and check that nothing has been broken or damaged. If this is the case, please change what has been damaged before reassembling.
Check the electrical cables, some of which are used to power the airbags, so don’t mess around with the safety devices.
TOOLS
- Wrench/screwdriver or Torx bit T15 T20 T25
- 10″ wrench or bit (depending on model)
- Large flathead screwdriver
- Dismantling tools (optional)
- Plastic disassembly tools to prevent scratches on your car’s interior. Failing that, an old loyalty card, a guitar pick etc…
- Set of hexagonal wrenches or bits
- a blind that you can find on the site or from a serious supplier
-
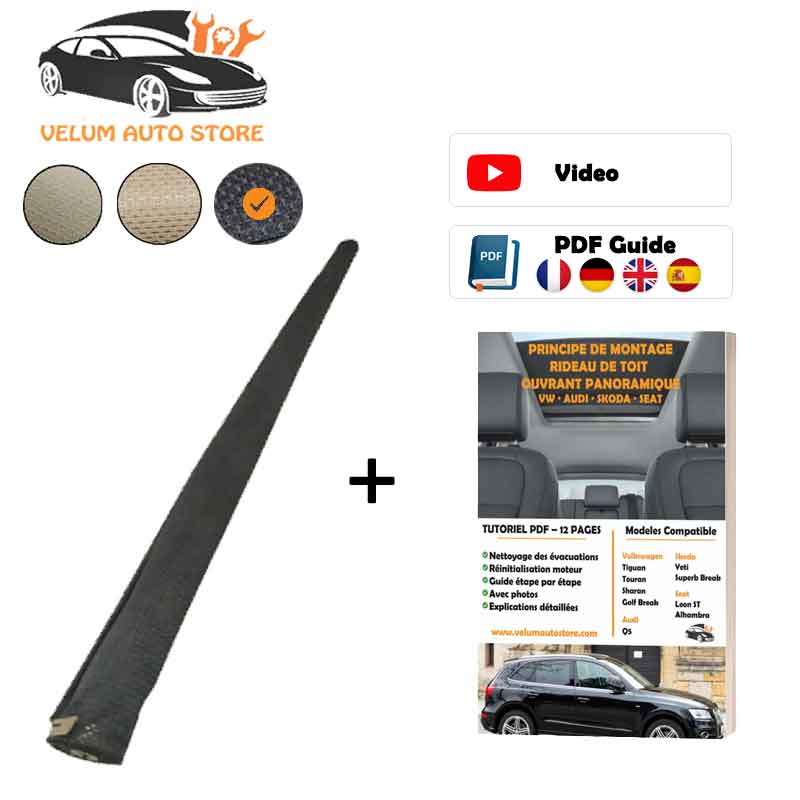
Product on sale
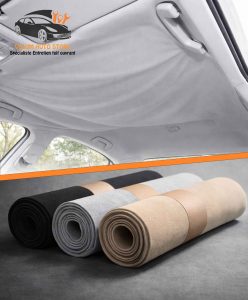
 Sunroof blind BLACK | VW TIGUAN | TOURAN | GOLF | AUDI Q5 | 1K9 877 307 (Adaptable)Original price was: 295.00€.149.00€Current price is: 149.00€.
 -
Product on saleSunroof awning GREY | VW TIGUAN | TOURAN | GOLF | AUDI Q5 | 1K9 877 307 (Adaptable)Original price was: 295.00€.149.00€Current price is: 149.00€.
-
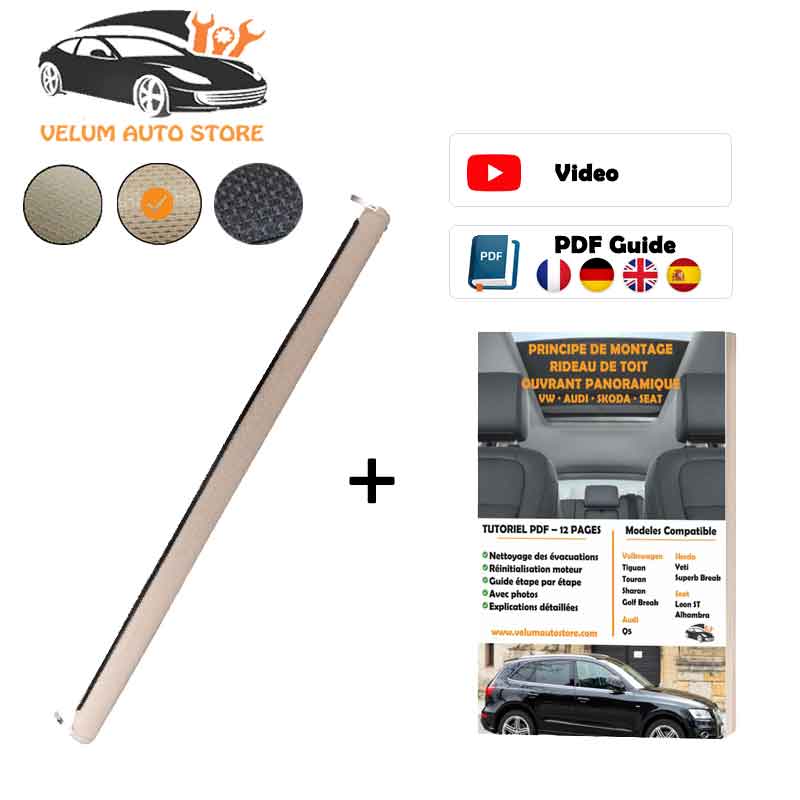
Product on saleSunroof roller blind BEIGE | VW TIGUAN | TOURAN | GOLF | AUDI Q5 | 1K9 877 307 (Adaptable)Original price was: 295.00€.149.00€Current price is: 149.00€.


Same as the original, very high-quality product.

The product fit my Tiguan perfectly. Installation went very well, but you need to follow the instructions carefully if you are not used to DIY work. Otherwise, the color and appearance of the sunroof shade are identical to the original. Savings compared with the dealership: around €1,500. I highly recommend this product and the supplier.

Produit de bonne qualité, problème de livraison avec chronopost mais vendeur très réactif et sympa qui m’en a envoyé un autre très rapidement.
TIME
3/4H APPROXIMATELY
Please note: there may be some differences in the way the uprights are removed, depending on the model and vehicle below:
VW TIGUAN, SHARAN, TOURAN, JETTA, GOLF VARIANT, AUDI Q5, SKODA YETI.
Example: for the Golf variant, there’s the trunk part to remove as well, and the headliner support is different – I’ve deliberately omitted it because this car is rare. In any case, you’ve got enough information to successfully change your sunroof blind, sunroof curtain or velum.
Assembly video
1 – Open the sunroof in “maintenance position
Open the TOP in the maintenance position. If you don’t know how to do this, you can read the article describing the functions of the VW panoramic sunroof.
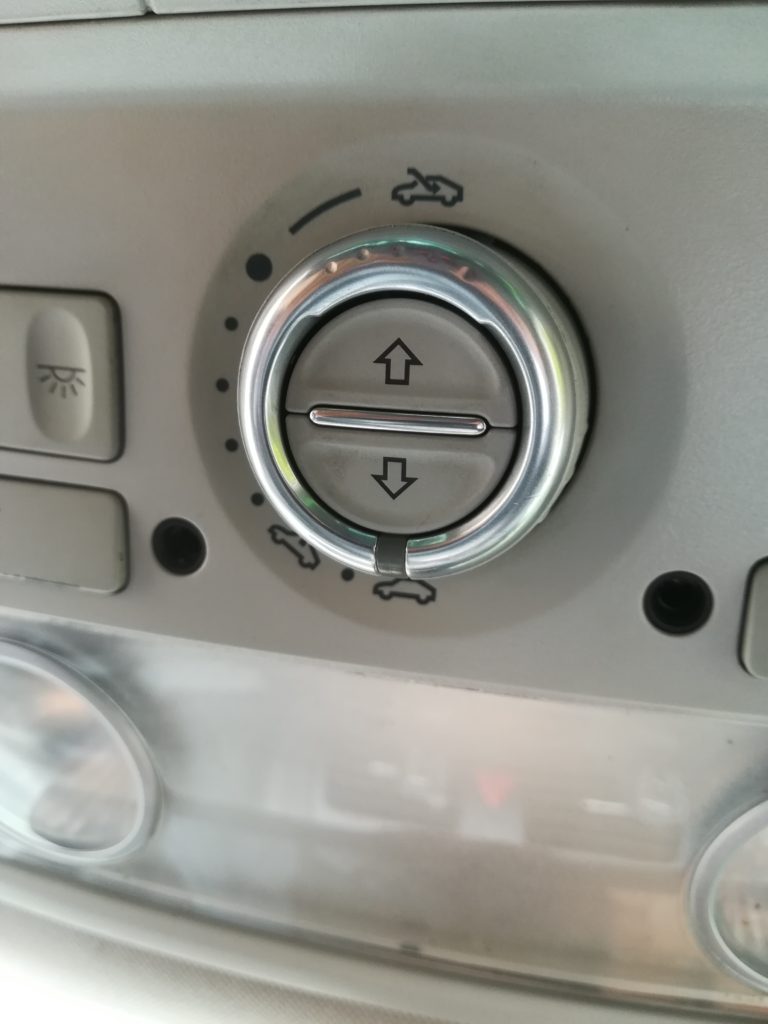
the important thing is to have access to the screw you can see (position beyond max)
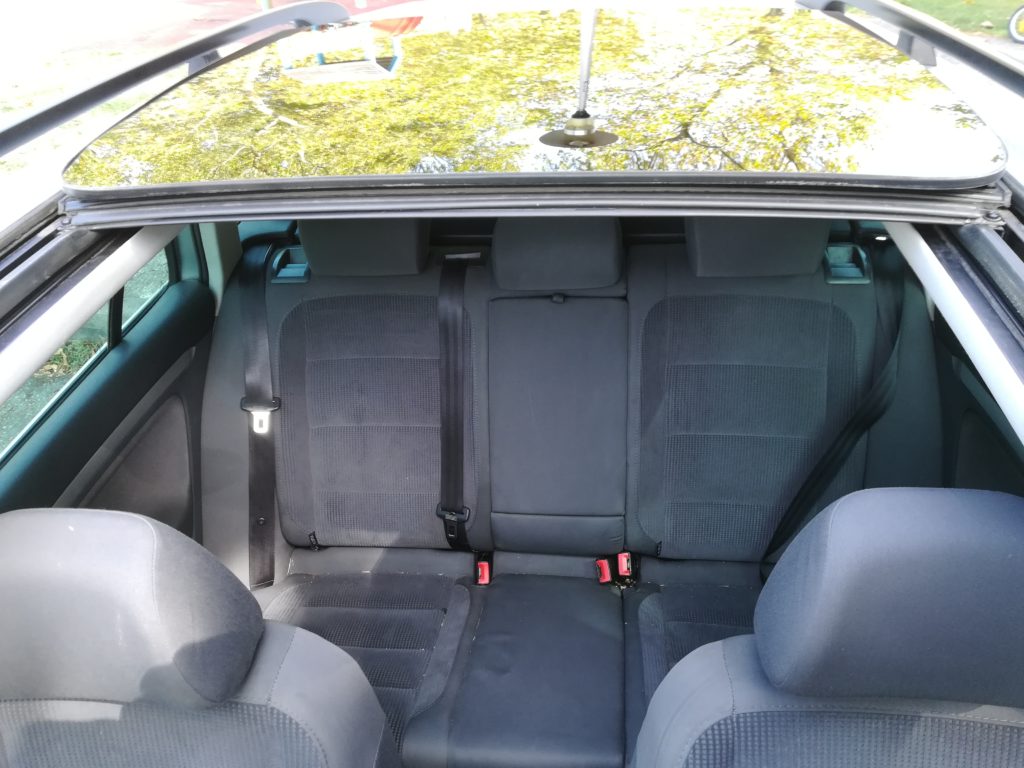
2 – Open the sunroof awning as far as it will go
3 – Disconnect the battery
For safety reasons, we recommend disconnecting the battery.
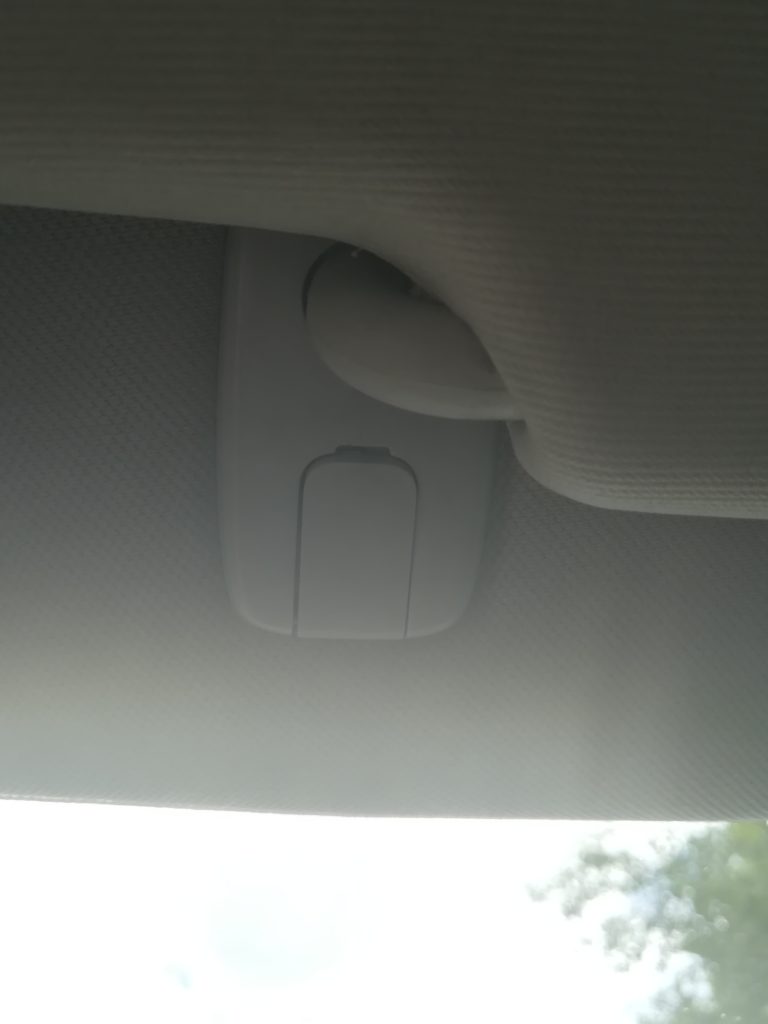
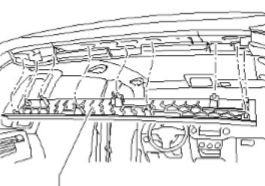
4 – Remove ceiling light and plastic covers

Remove the plastic part using a pick, then remove the screws.
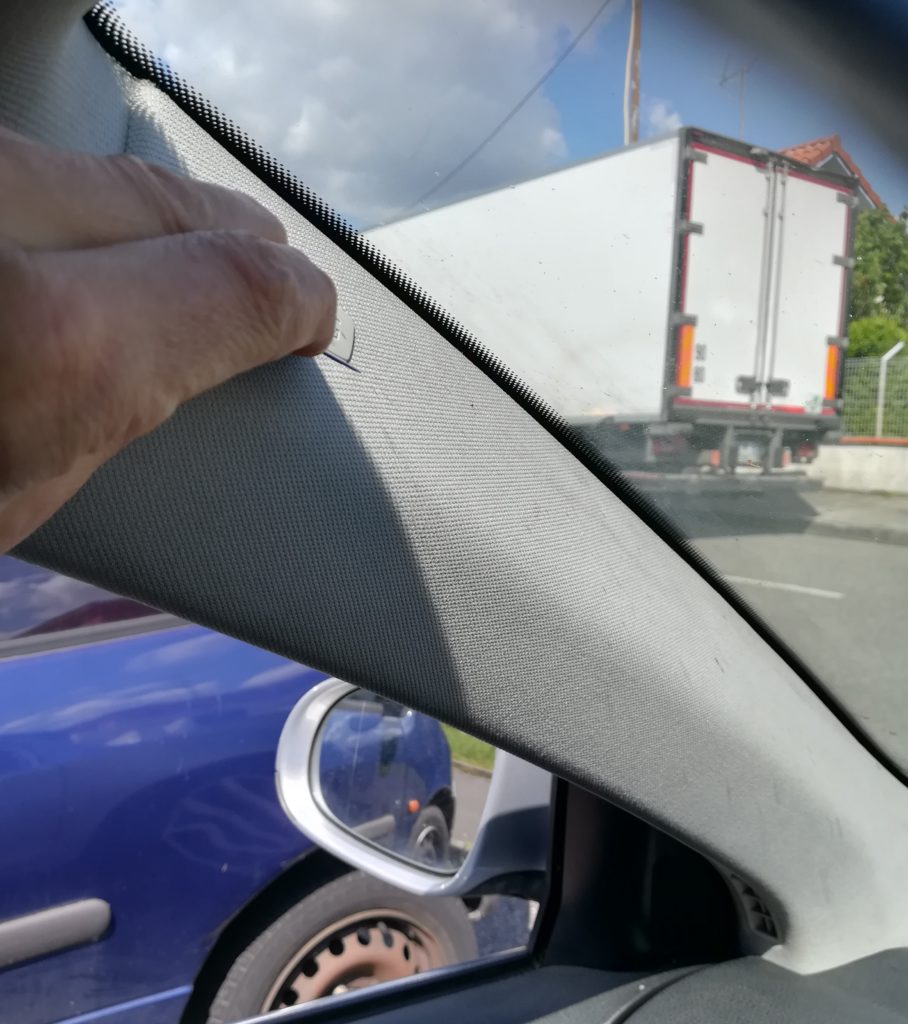
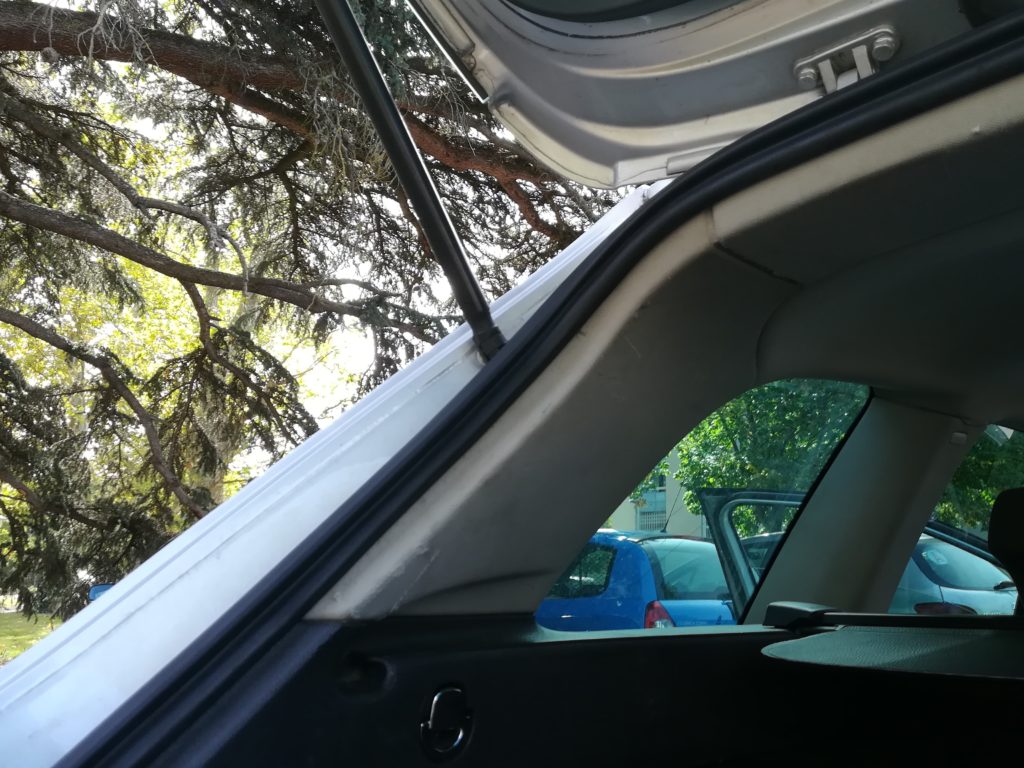
5 – Remove front left side panel
Remove the AIRBAG symbol with the thinnest possible plastic tool (pick) by levering and applying pressure to the shapes (see inward arrows).
Do the same for the right front upright.
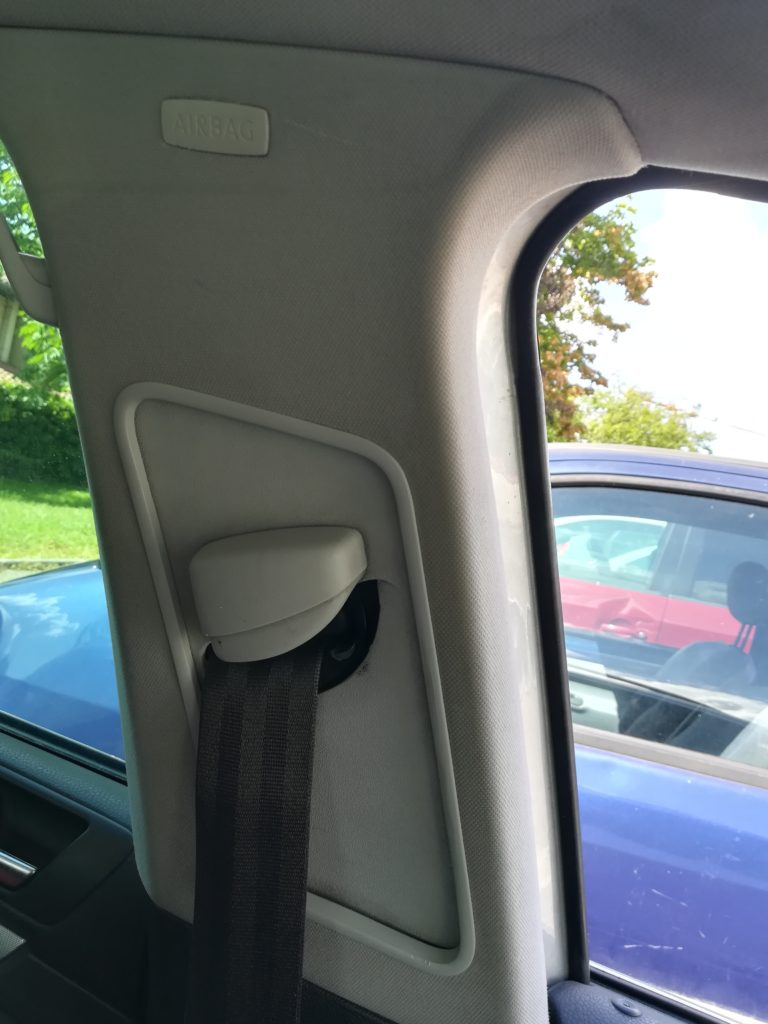
6 – Remove left central upright
Start by removing the AIRBAG symbol in the same way as you removed the fixing screw (set the belt adjuster high enough, but not too high, to allow access with the torx screwdriver).
The upright must be disengaged from the housing at the bottom so that it can be moved downwards (try not to pull out the plastic part which adjusts the height of the belt).
Do the same for law.
7 – Removing the profile around the canopy
There are about twenty staples to be unclipped by levering with a plastic disassembly tool (or you can use a credit card or a pick).
8 – Remove sunshade
Open the small covers with an extra-thin plastic tool or a precision screwdriver, but with care; an extra-thin guitar pick can do the trick.
Be careful with the sunshield, as it’s still attached by its cables, so you’ll need to remove the plug before it’s finally free.
9 – Remove rear hatch cover (trunk)
Open the tailgate and pull the rear cover down with a sharp tug.
10 – Remove rear cover (trunk)
Remove the plastic plungers using a special tool such as T10236 or pliers on either side of the plastic part.
Remove the plastic part from the metal hoops and pull it upwards.
11 – Remove side covers (trunk)
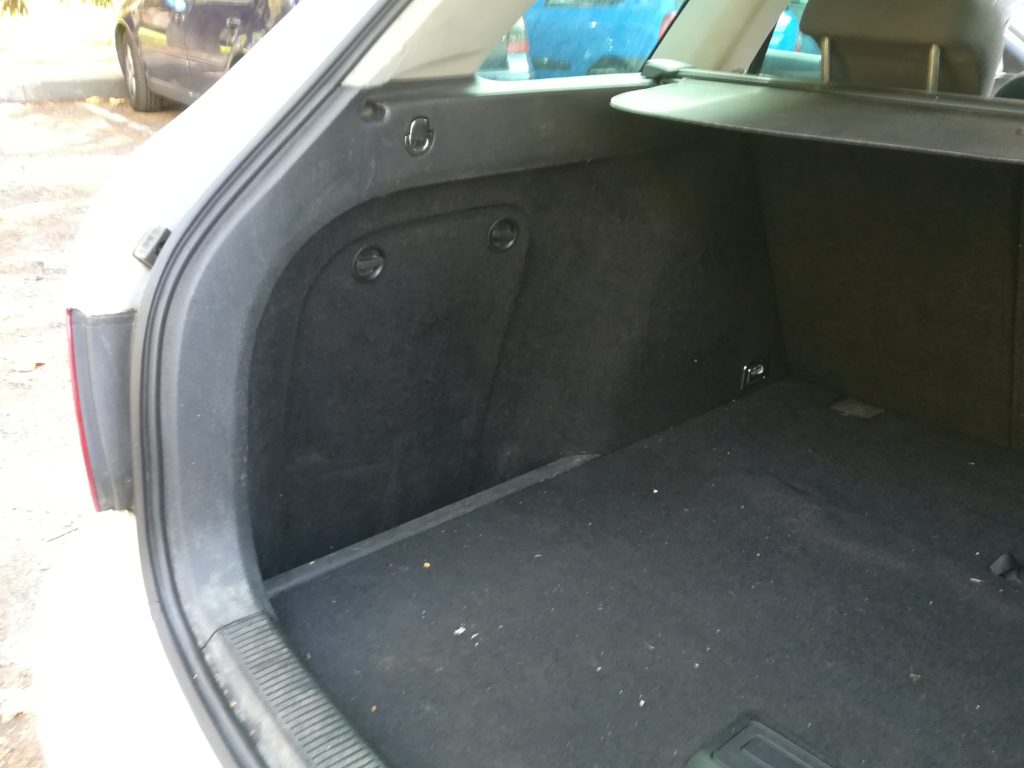
Unscrew the fixing screws on the side of the trunk, then unclip the peripheral parts by passing your hands or a tool between the seal and the plastic.
12 – Remove upper side cover (trunk)
Remove the trim piece by pulling downwards.
Pull as indicated by arrows A and B.
13 – Fold down the rear bench seat, move the seats to the maximum forward position and lower the seats.
14 – Disconnect sunroof control plugs
15 – Remove plastic headliner retainers

Remove the screws holding the plastic part in place.
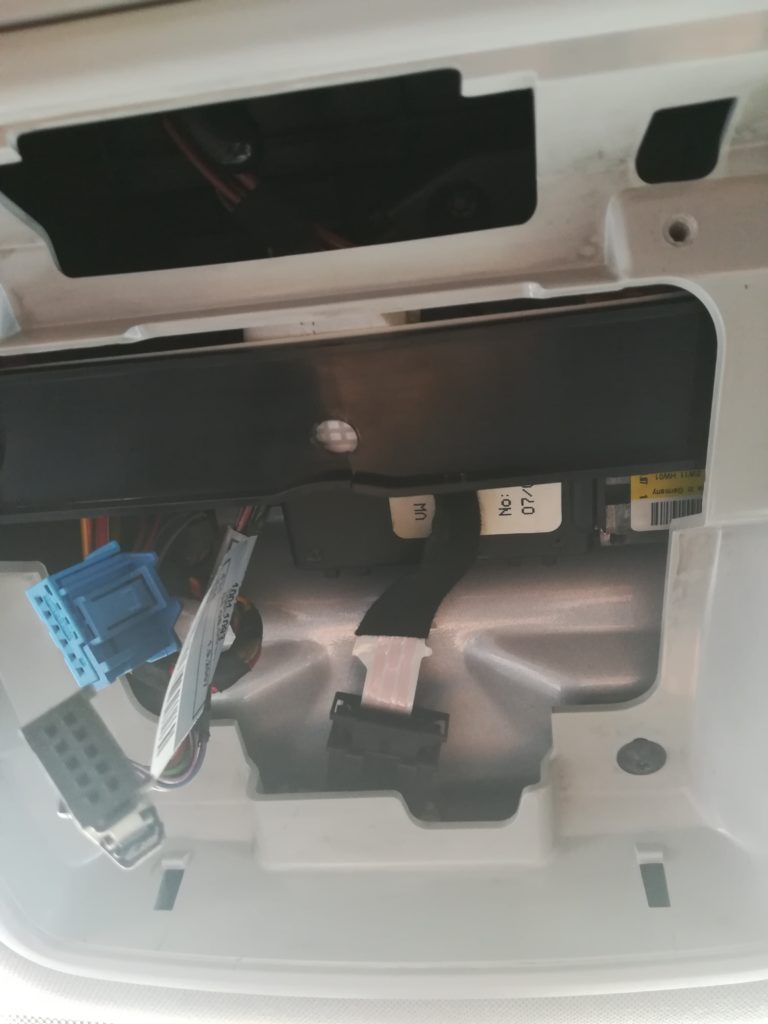
16 – Remove handles
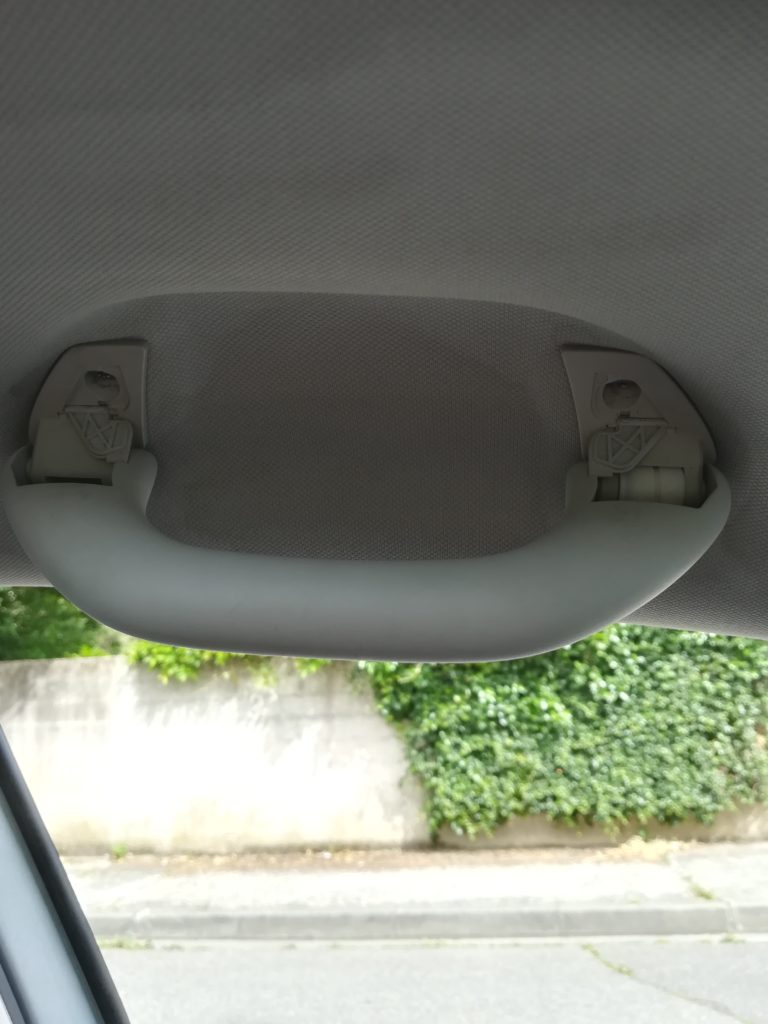
Hold the handle as if you were trying to grab it and remove the 2 torx screws.
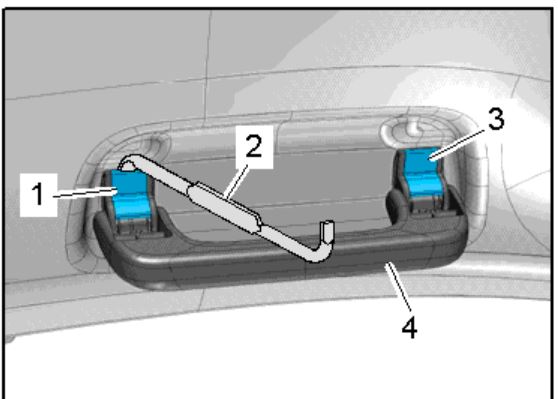
Note: On Q5, these are plastic parts to be removed instead of special tools, which you can >>find here<< but a piece of bent flat iron, a sacrificed screwdriver or a bent skewer at the right angle can do the trick.
17 – Check that nothing is holding back the headliner (light, ceiling light, etc.), then remove the molded headliner by moving it forward to disengage it from the rear pillars, then remove the molded headliner from the rear.
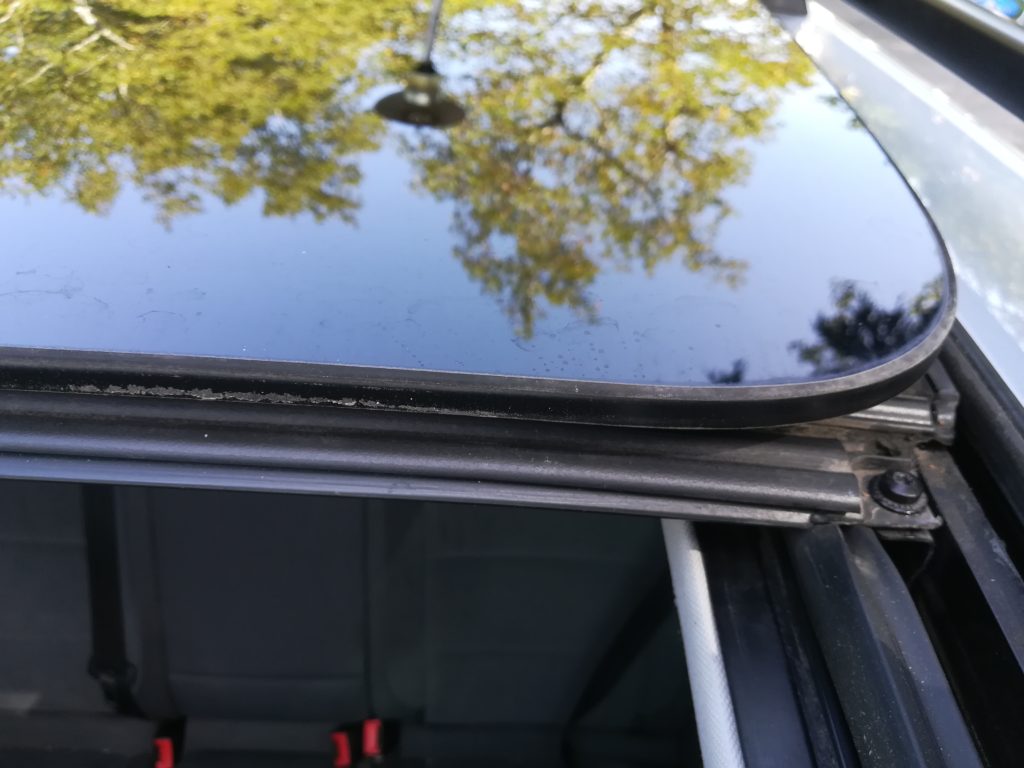
18 – Removing the rear window of the sunroof
Unscrew the fixing screws (Torx T25) from above, paying attention to the 2 or 1 washers on top, depending on the thickness of the washer.
If you haven’t already done so, return the movable part of the sunroof to its fully open position. ( by reconnecting the connector )
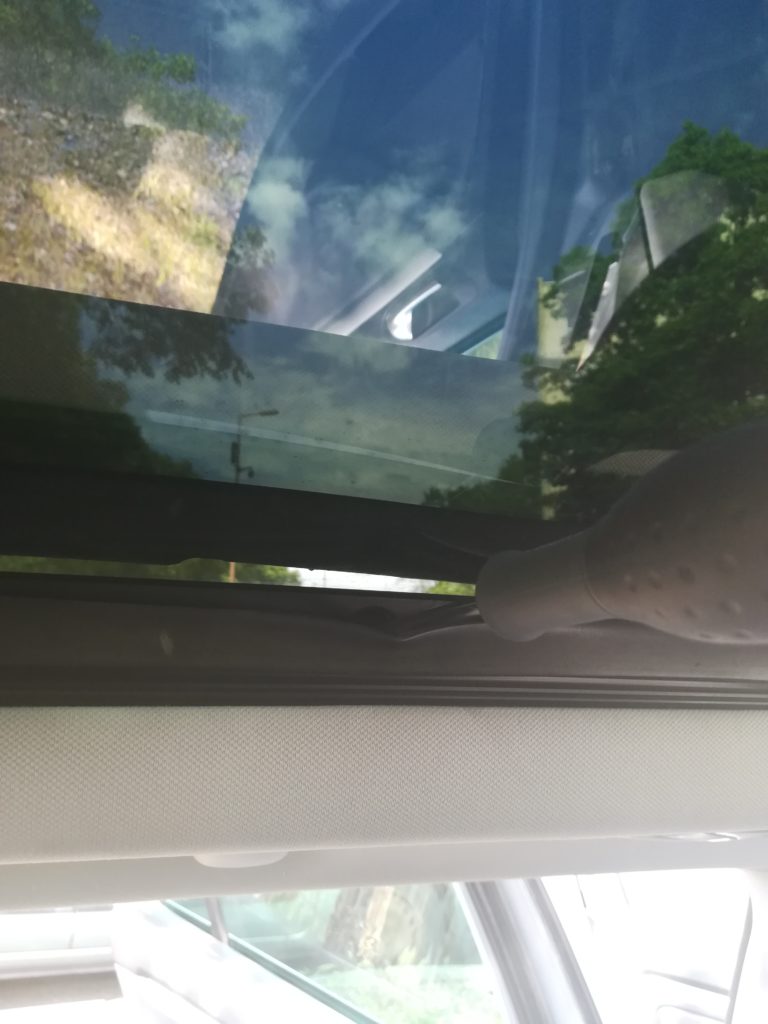
if you need to operate the sunroof, you can do so manually with a 6-sided wrench directly on the front sunroof motor
Lift the gasket with your hands to pass the screwdriver through to remove the screws hidden behind the gasket.
19 – Lift rear glass
At this very moment you have the opportunity to unclog the drain holes in the sunroof. Take advantage by reading this article I wrote on the subject.
https://velumautostore.com/comment-deboucher-les-tuyaux-evacuation-du-toit-ouvrant-vw-audi/
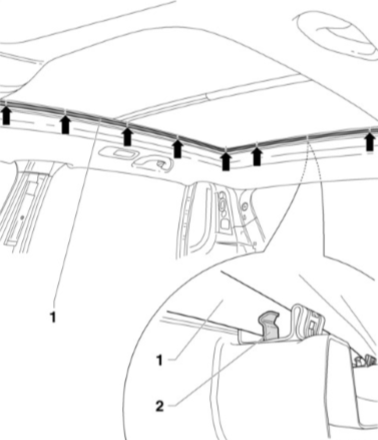
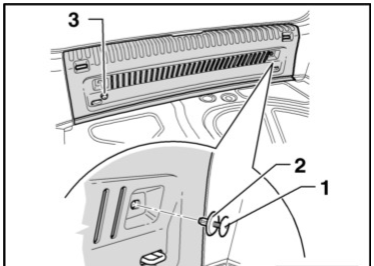
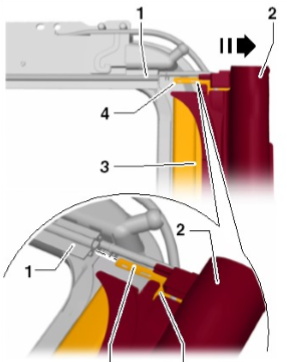
20 – Remove corner brackets
Stand over the sunroof by the door jambs or by the rear window.
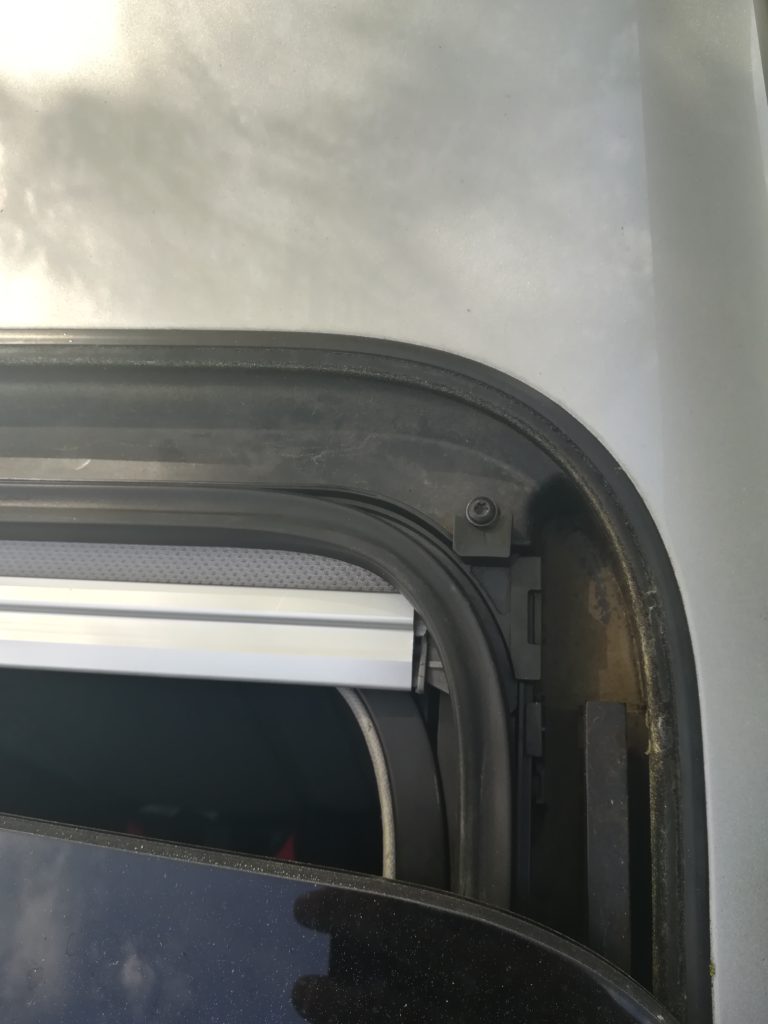
Remove angled brackets (Torx screws) brackets are clipped and aimed.
ATTENTION to gasket (3)
Do the same on both sides
Unclip slide brackets (1) by removing it upwards Remove slide brackets from finishing bar (2)
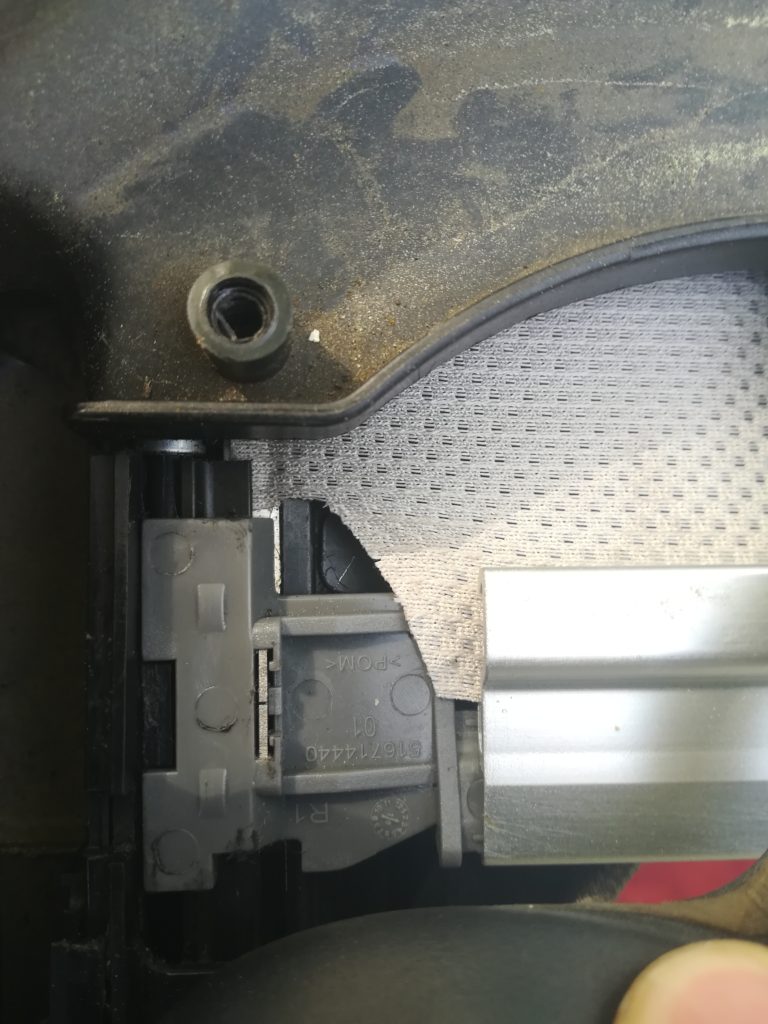
21 – Remove the screws securing the roller blind support assembly.

Remove the screws marked (1) to remove the awning support quietly towards the rear, then once the support has been removed, remove the finishing bar from the awning by sliding it sideways.
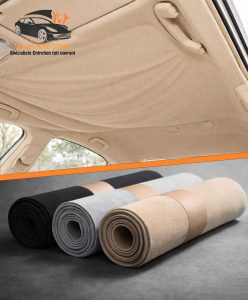
22 – Fitting the new panoramic sunroof blind
This is the most meticulous part of changing a panoramic sunroof blind.
Place the new roller blind in the bracket and slide the metal finishing bar into the black rubber part (1), trying to center it as much as possible.
-
Product on saleSunroof blind BLACK | VW TIGUAN | TOURAN | GOLF | AUDI Q5 | 1K9 877 307 (Adaptable)Original price was: 295.00€.149.00€Current price is: 149.00€.
-
Product on saleSunroof awning GREY | VW TIGUAN | TOURAN | GOLF | AUDI Q5 | 1K9 877 307 (Adaptable)Original price was: 295.00€.149.00€Current price is: 149.00€.
-
Product on saleSunroof roller blind BEIGE | VW TIGUAN | TOURAN | GOLF | AUDI Q5 | 1K9 877 307 (Adaptable)Original price was: 295.00€.149.00€Current price is: 149.00€.
Remember to use the small staples (2) that I supply free with the blind.
They can be removed from the plastic part by pushing with a small flathead screwdriver.
It’s very difficult for the staples to fit into the notch in the side spring, so don’t file or saw them… it’s normal.
Put it on at an angle to engage it, then put the right one back on. It may take some force to put it back on straight, but it won’t affect the assembly.
23 – Engage roller blind support assembly
Solution 1: Engage the flat part of the blind in the rail (1) on both sides and tighten the screws removed in step 19.
Solution 2: Engage only the blind + finishing bar assembly, then go on to step 23 (add the slide rail brackets).
Then add the roller blind bracket once the blind is installed.)
24 – Add the sliding brackets
Add the slide brackets (2) by engaging them laterally in the finishing bar (3) and then clipping them over the clip in the reverse way to step 19.
Refit the corner supports above the sunroof
WARNING grease only in the hollow part of the slide rail support
see photo ( to be fitted )
25 – Manually operate the panoramic sunroof awning to check that it does not snag.

Use a 6-sided wrench directly on the roller blind motor (marked 3), which is located at the back just behind the roller blind support assembly.
Ideally, you should make a few trips back and forth to check for any blockages (dirt, debris in the guide rail) and make sure everything’s running smoothly.
26 – Reassemble molded headliner in reverse to step 7
27 – Refit fixed rear sunroof window, reversing step 15.
28 – Power on
key in ignition => ignition on => battery charging
We put the battery back in after switching on the ignition to avoid being in the car when the ignition is switched on, and to avoid being knocked out by the airbags in the event of a malfunction (you’re never safe).
We’re only a few minutes away from the end of the sunroof blind change, so just a few more efforts.
29 – TOP + STORE calibration
After changing the sunroof blind, it’s imperative that you reset it.
If the ignition isn’t switched on yet, then switch on the ignition with the battery switched off and then switch the battery on again, to avoid getting an airbag in your head, and if there’s a malfunction.
At least that way you’re out of the house.
29.1 PANORAMIC SUNROOF
Rotary knob in position closes glass closes
video link
Pull knob down and hold for 20 seconds even while it’s moving it will open and close you can release
29.2 SUNROOF BLIND
Blind in closed position.
Press and hold blind close for 20 seconds.
Blind opens and closes – release.
video link
30 – TEST
If the blind is working properly, you can go back up in the opposite direction. If not, go over what’s wrong and be methodical – you’ll soon find the cause of the problem.
If you have any questions, here’s my contact: contact@velumautostore.com
PDF tutorial
To get this FREE PDF TUTO, enter your e-mail address here:

Frequently asked questions | FAQ
Yes, the blind ref. 1K9877307 is compatible with the Golf VI Estate (Variant) chassis code AJ5, produced from 2009 to 2013, equipped with the original panoramic sunroof.
If the fabric is intact and still well bonded to the metal spring plates, it is sometimes possible to reassemble it if there are no folds in the metal plates. However, if the spring is broken, bent or the fabric torn, complete replacement is unavoidable.
No, at least the rear half, but the Ideal is to dismantle it completely to gain ideal access to the awning mechanism, and this requires removal of the molded headliner. There’s no alternative method – it takes about 1 minute with the right tools.
No, this reference corresponds to another VW Group platform up to 2017. For the 2nd generation Q5 (2017+), the reference is different. Contact us with your VIN for confirmation.
Yes, the Seat Alhambra II (7N), produced from 2010 to 2020, is compatible with reference 1K9877307. It shares the same platform as the VW Sharan II.


Add comment